Working with the Scenum Extension
Working with the Scenum extension
- Register on the Scenum official website and claim your trial period.
- Check your email account for an email from Scenum after registering. Activate your account and log into it using the data you have received in the email.
- Follow the https://scenum.io/get-zip/ link from the second email.
- Provide your account information and API keys/tokens if you have them.
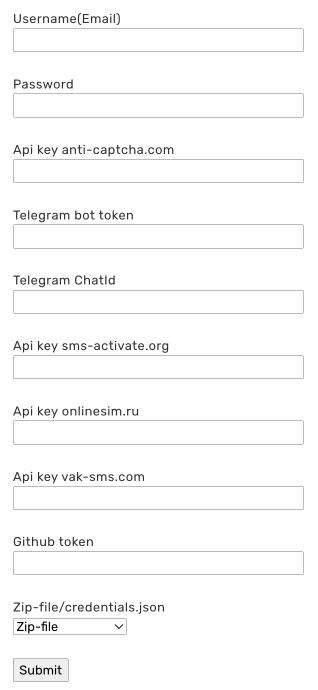
- Click "Submit" after entering the data.
- Download the extension from the email you receive after filling out the form and unzip it into a separate folder.
Now your Scenum account is ready to go. This is what it will look like initially.

Installing the Scenum extension in Octo Browser
- Click on "Create Profile."

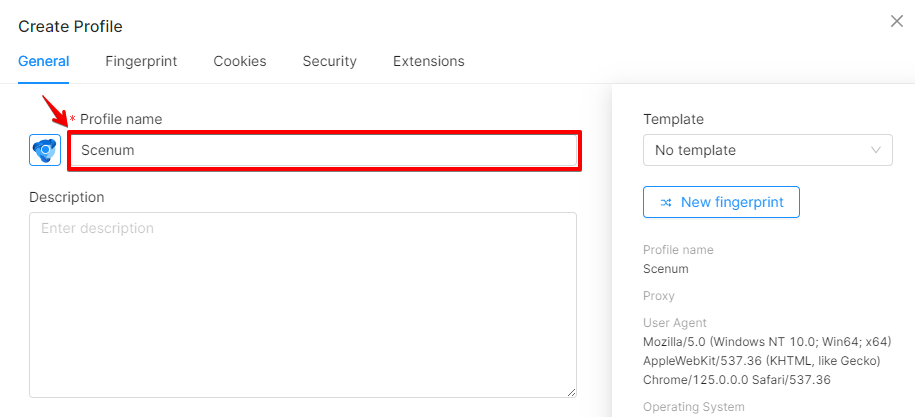
- Give your profile a name.
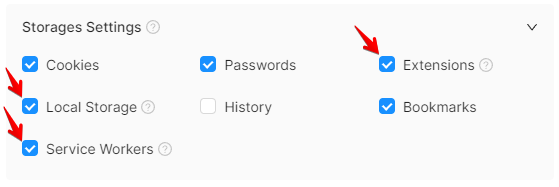
- Enable Extensions, Local Storage, and Service workers in the Storages settings.
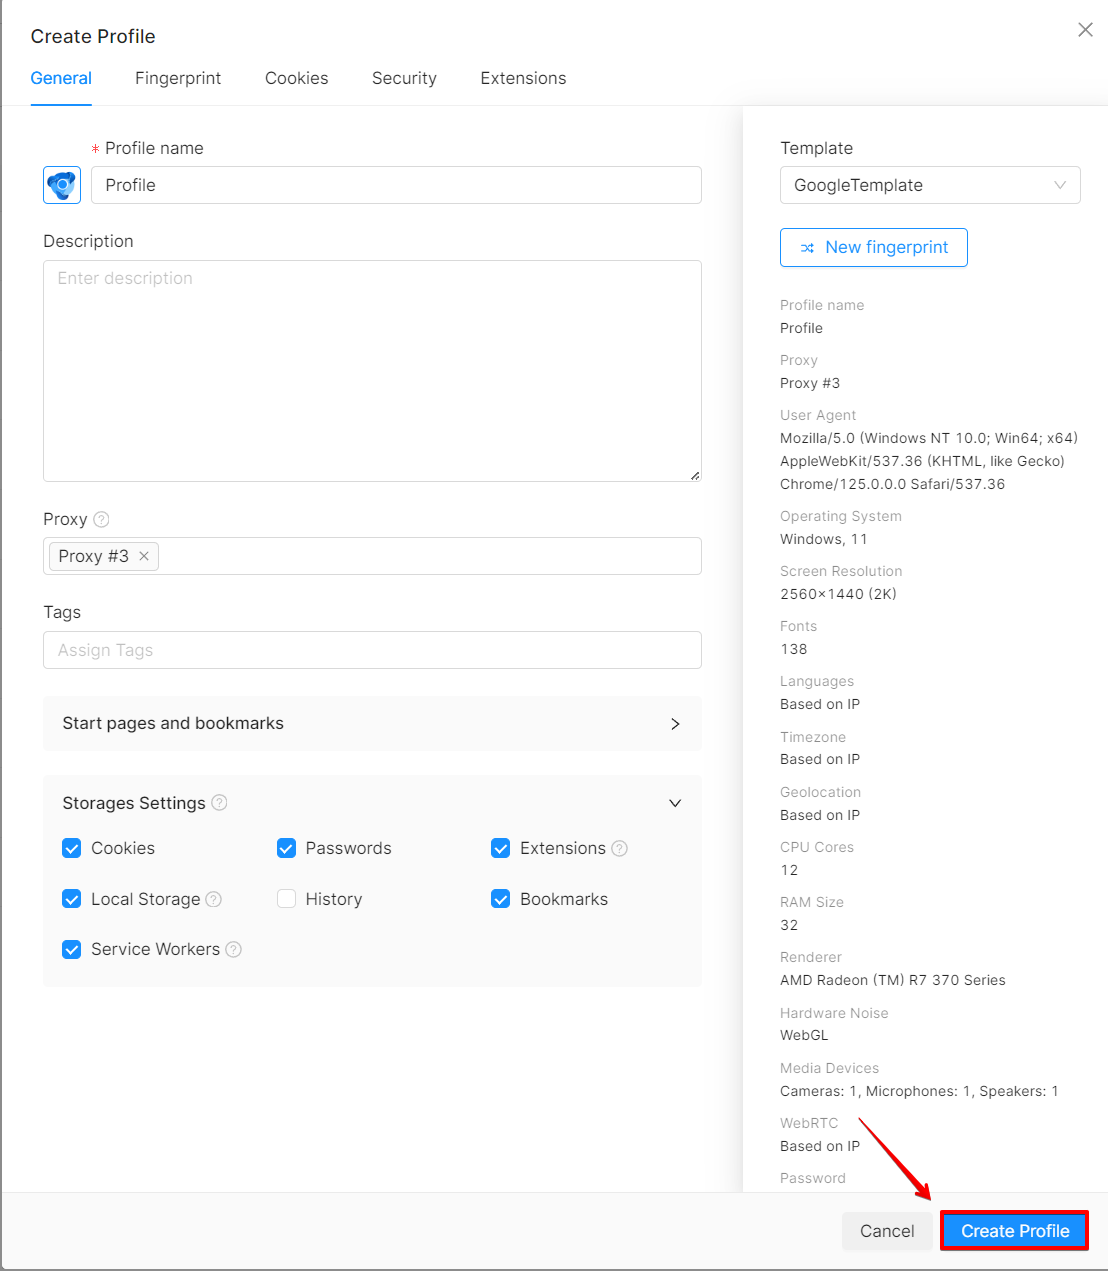
- Click on "Create profile" in the bottom right corner.
- Launch the profile by clicking on the "Start" button.

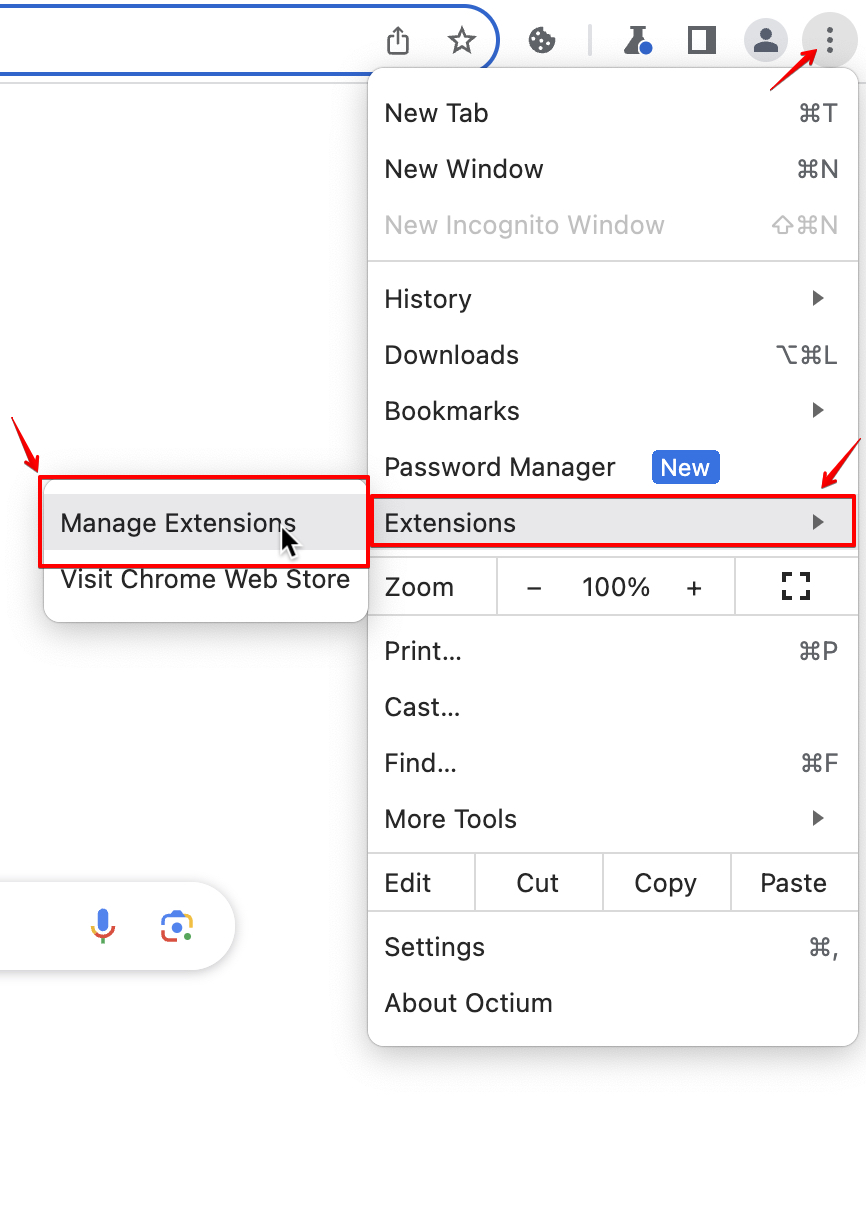
- Click three vertical dots in the top right corner of the running profile, and go to "Extensions" → "Manage Extensions." You can also access this menu by typing chrome://extensions in the address bar of your profile.
- Toggle the "Developer mode" on.

- Unpack the extension archive and load the unpacked extension.

- Select the folder with the unpacked extension. You will see the extension tab.
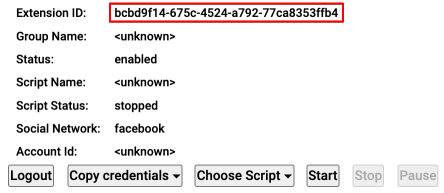
IMPORTANT!
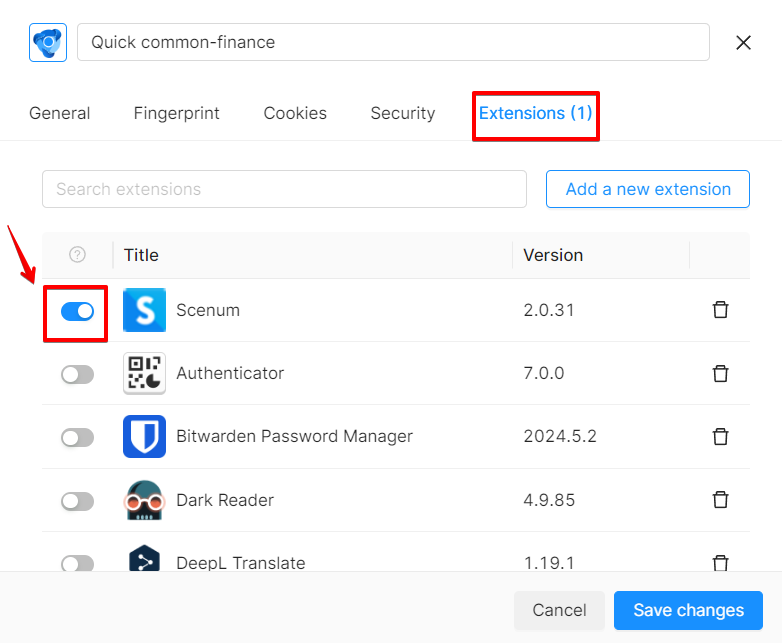
In the future you do not need to install the extension again when creating new profiles. You will only need to activate it in the Settings.
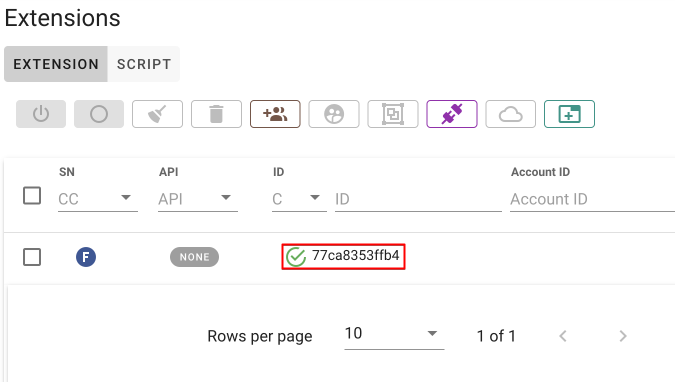
- After launching a profile with the installed extension, you will see a line corresponding to that profile’s extension in your Scenum account.
To fully configure Scenum using API, please refer to the documentation available on the Scenum website.