Temporary proxies
Temporary proxies are proxies that are added directly to the Connection settings for a profile and that cannot be saved and selected later from the list or the Proxies tab.
All subscription tiers support an unlimited number of temporary proxies. You can set the necessary temporary proxy when creating or editing a profile. IPv4 and IPv6 proxies are supported.
A temporary proxy can be saved to the Proxy Manager list. To do this, tick the Save proxy checkbox, add a name for the proxy, and confirm. The proxy will be added to the Proxy Manager and will be available for quick selection.
If necessary, URL for IP Change allows you to add a link to change the IP in the supported formats:
https://65.108.85.95:8001
http://192.168.0.0
http://localhost
http://example.com:8080/api/param=123
https://[2001:7334:0db8:85a3:1200::8a2e:0370]/api/param=123
http://[2001:0db8:85a3:0000:0000:8a2e:0370:7334]:8001
You can find our video tutorial covering temporary proxies here:
Quick Filling-In of Proxy Data
To quickly fill in the proxy data, use the following template:
| IPv4 Proxy | IPv6 Proxy |
|---|---|
| protocol://login:password@host:port | login:password@[host]:port |
| protocol://host:port:login:password | [host]:port:login:password |
| login:password@host:port | protocol://login:password@[host]:port |
| host:port:login:password | protocol://[host]:port:login:password |
Make sure your proxy data follows the pattern above, and using hot keys (e.g, CTRL + V), paste the proxy data into the Host field. Socks5, https, http, ssh protocols are supported.
For example:
5.8.1.1:5555:Kso31s:CLdUQ
Kso31s:CLdUQ:5.8.1.1:5555
socks5://5.8.1.1:5555:Kso31s:CLdUQ
socks5://Kso31s:CLdUQ:5.8.1.1:5555
https://Kso31s:CLdUQ:5.8.1.1:5555
https://5.8.1.1:5555:Kso31s:CLdUQ
http://Kso31s:CLdUQ:5.8.1.1:5555
http://5.8.1.1:5555:Kso31s:CLdUQ
ssh://Kso31s:CLdUQ:5.8.1.1:5555
ssh://5.8.1.1:5555:Kso31s:CLdUQ
For the Team and Advanced subscriptions, access to temporary proxies for all team members is enabled by default.
Before adding a proxy to the saved proxies list (the Proxy Manager), you can check it by clicking Check proxy. If the proxy is successfully verified, a green "Available" notification will be displayed with the flag and the ISO code of the proxy geolocation. If validation fails, a red "Unavailable" notification will be shown.
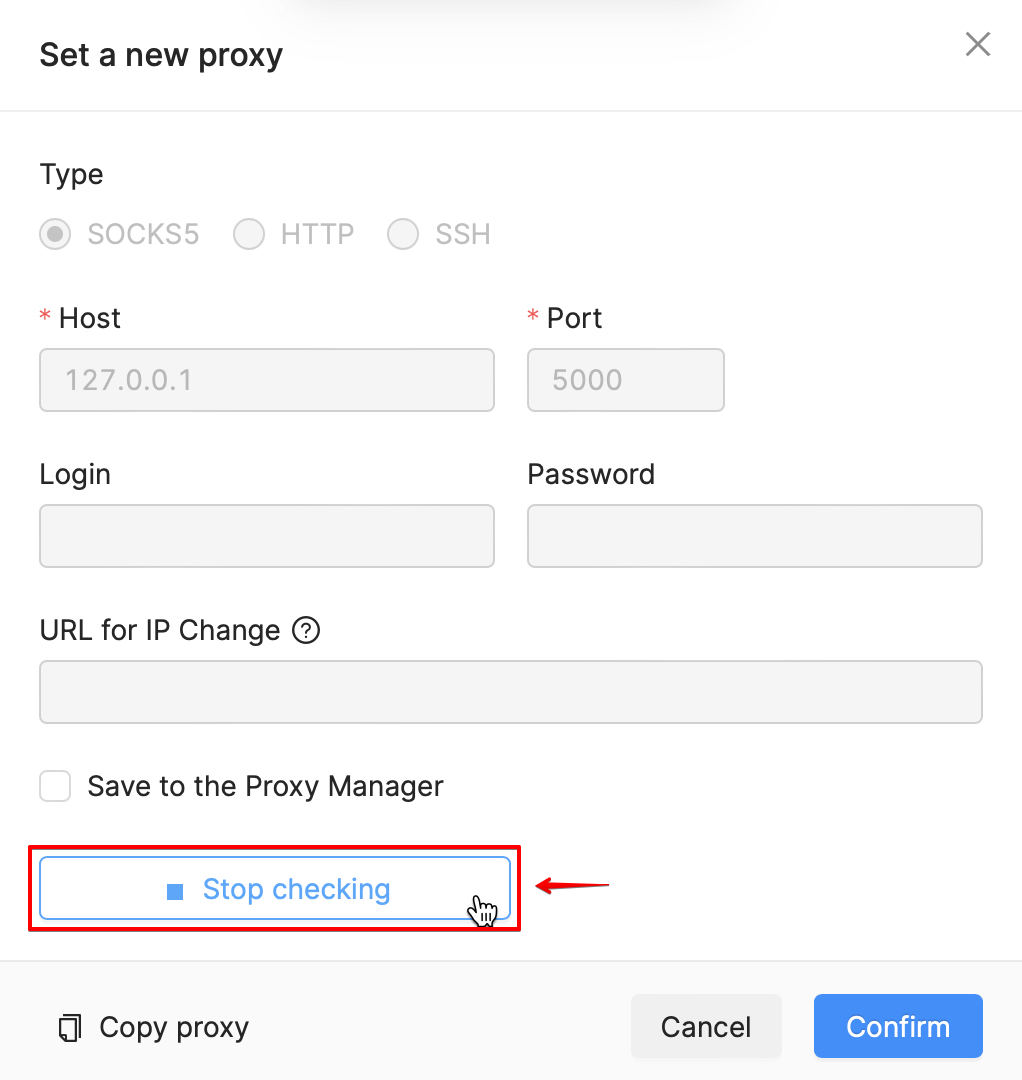
If you hover the mouse over the "Check Proxy" button during the check, the "Stop Checking" button will appear. You can interrupt the check by clicking on it.

If a proxy is in fact functioning, but does not pass the test, you need to change your Internet connection (use your mobile connection or enable a VPN). It is possible that the ISP blocks the proxy checker URL. The VPN (or mobile Internet) will have a different ISP, which will not block the proxy checker URL.
Clicking on the "Copy Proxy" button will copy the proxy data to the clipboard in the following format:
protocol://login:password@host:port
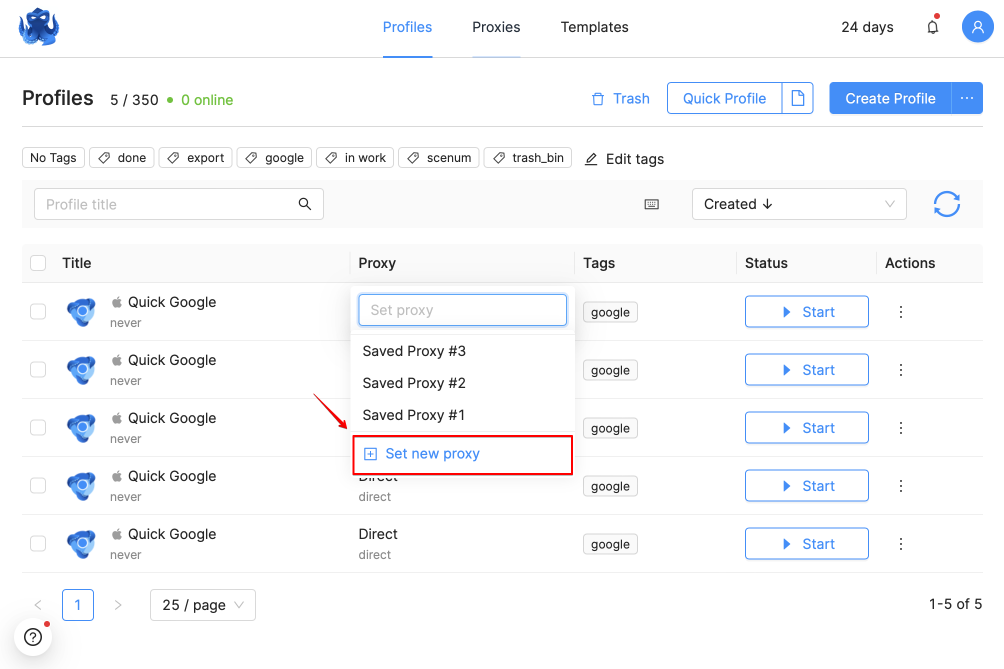
You can add a temporary proxy by clicking on the "Direct" button in the Proxy column of the profile list, then click on "Set new proxy" at the bottom of the drop-down list. Do not toggle the "Save to proxy list" checkbox on.
